

By Coach Greg Amorelli DHSC(c), MS, CSCS, TSAC
How to Build Stronger Brakes
The goal is not to avoid downhill movement. The goal is to earn it gradually.
A good plan includes two pieces: strength work and controlled downhill exposure.
1. Step-Downs
Step-downs teach your body to lower under control. They build strength and coordination in the quads, hips, calves, feet, and trunk.
For Eagles with a knee history: start with a lower step and a smaller range of motion. The rep should feel controlled, not forced. Stop the set if pain changes your mechanics. Depth comes later. Control comes first.
How to do it: Stand on a low step or box. Slowly lower one foot toward the floor, letting the hips move back slightly as the knee bends. Keep the movement quiet and controlled. Lightly tap the heel, then return to the top.
Start with: 2-3 sets of 5-8 reps per side.
Make it harder by: Using a slightly higher step, slowing the lowering phase, or adding a light load. Do not rush these. The value is in the control.
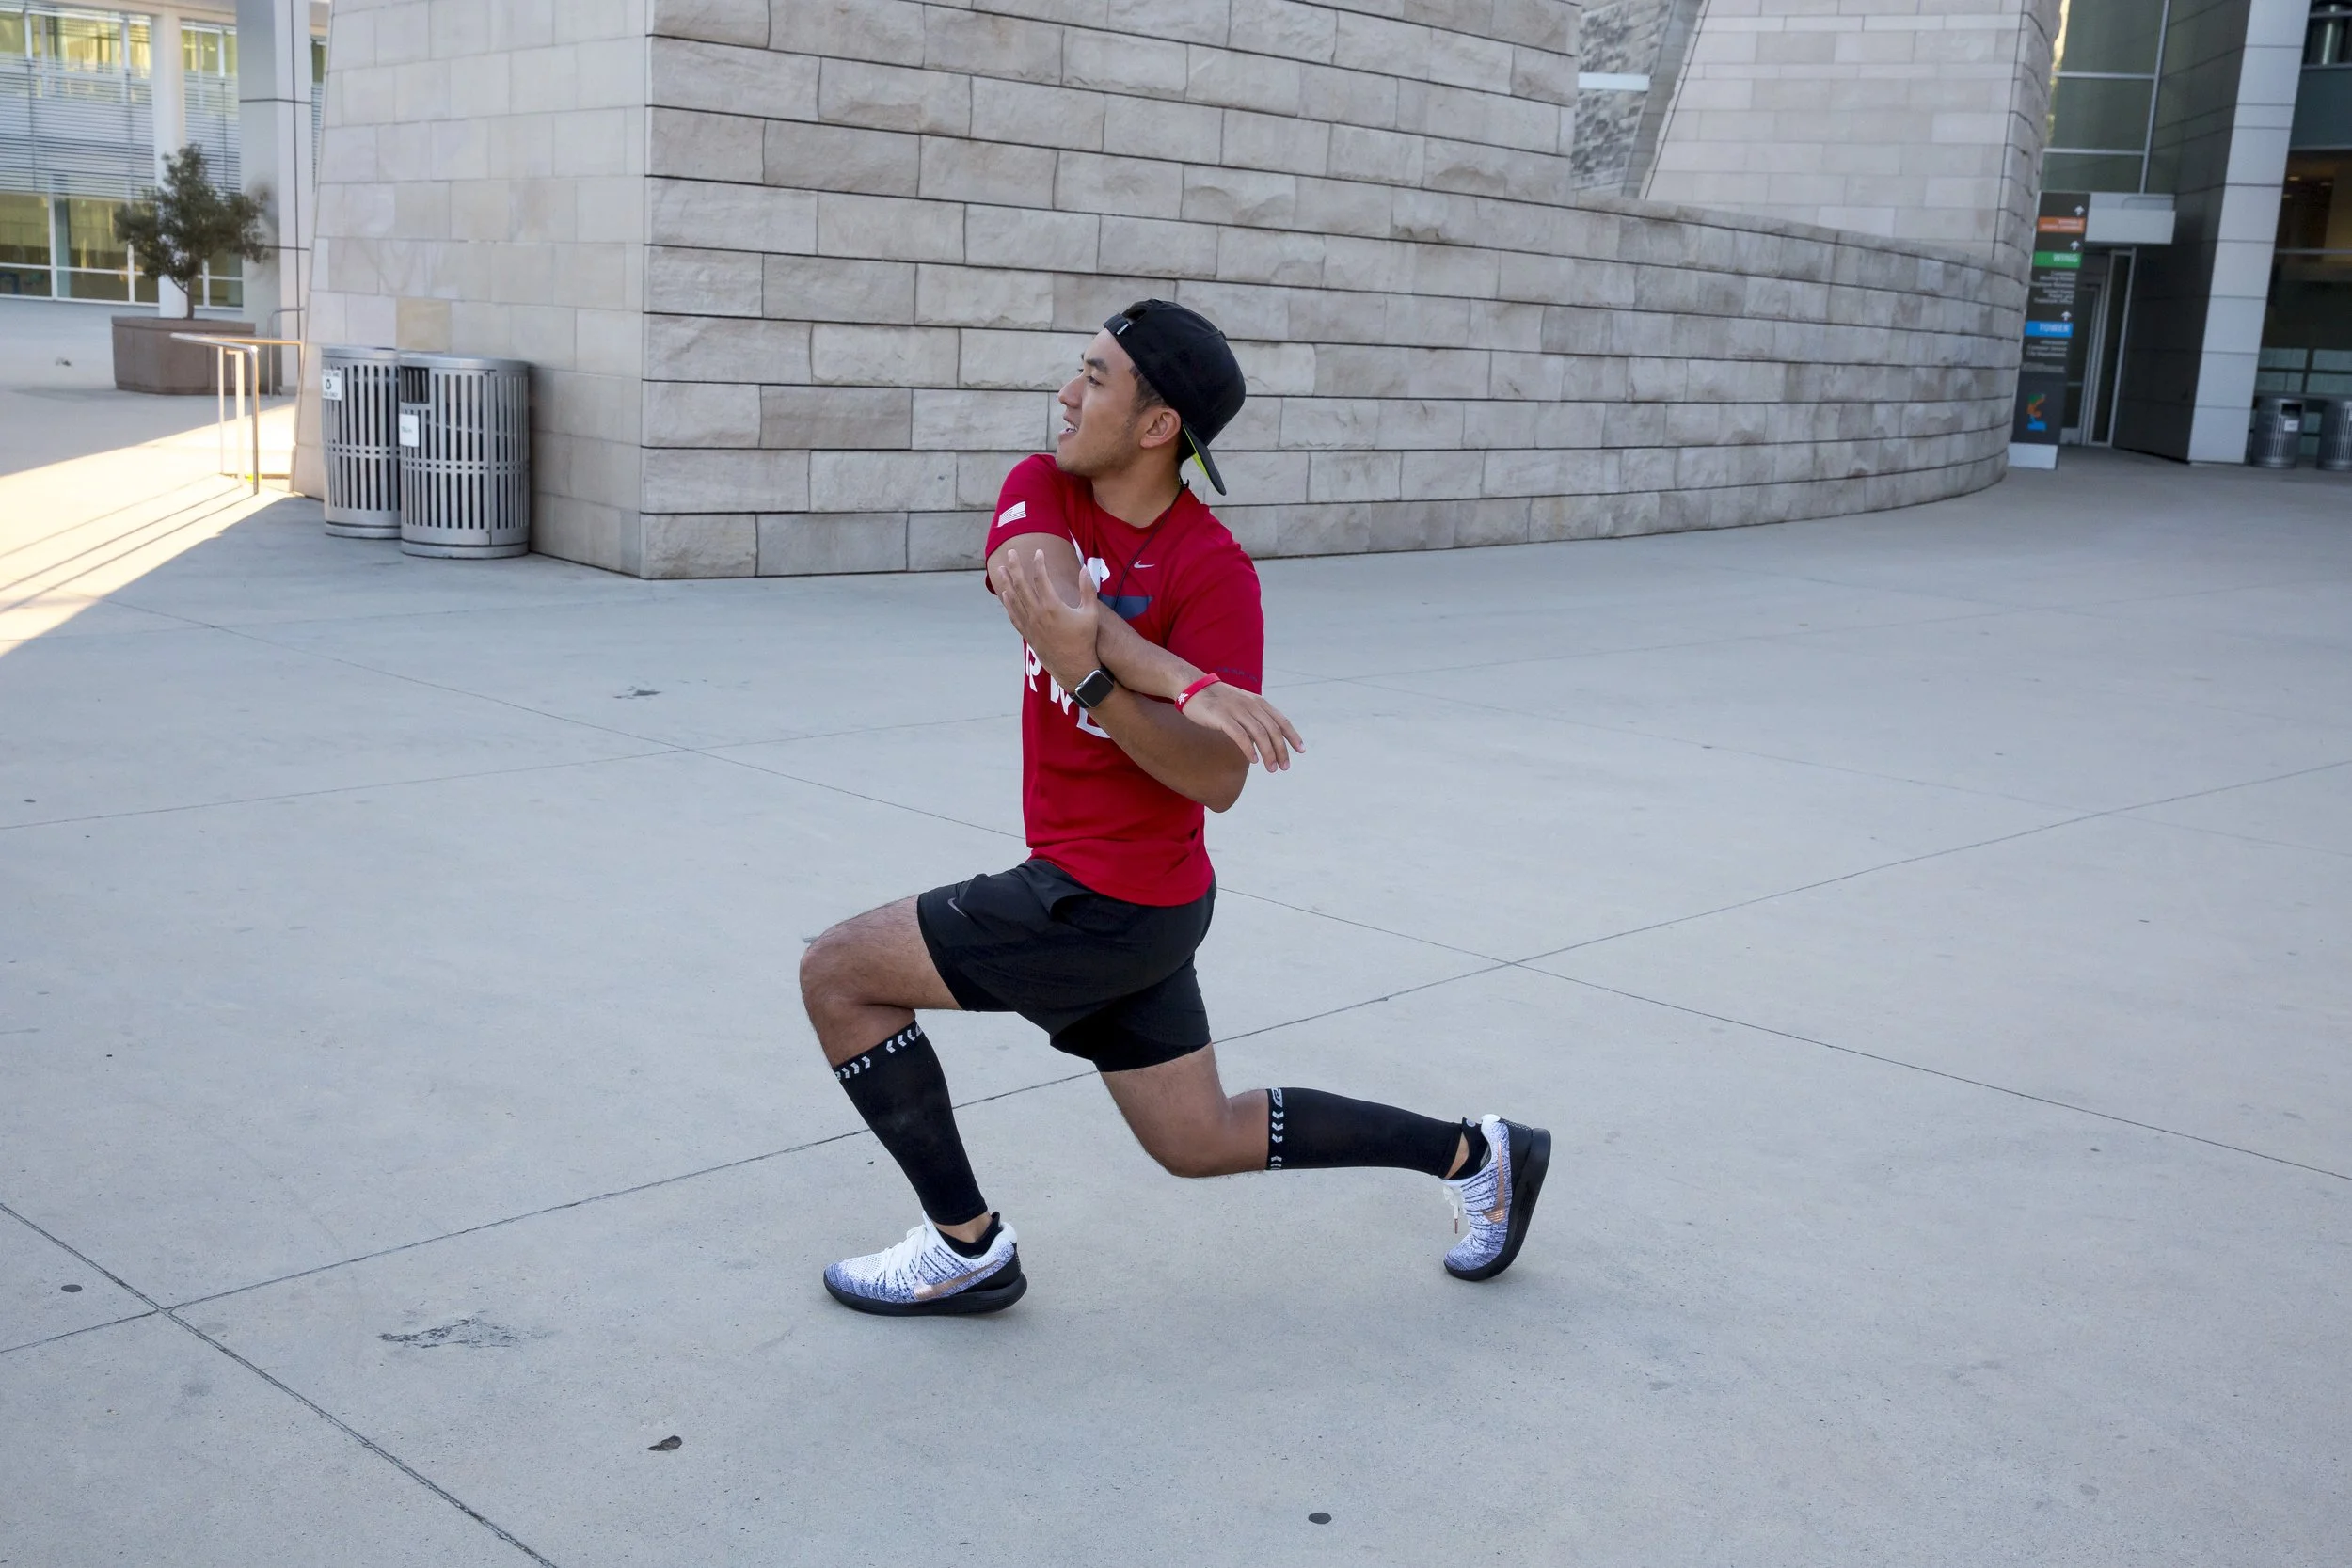
2. Split Squats
Split squats build single-leg strength and help prepare the legs for uneven, staggered positions common in rucking, hiking, and trail movement.
How to do it: Take a staggered stance. Lower under control. Keep the front foot grounded. Stand back up with control.
Start with: 2-3 sets of 6-10 reps per side.
Make it harder by: Adding load, increasing range of motion, or slowing the descent.
3. Build Hip Strength
Your knees do not work alone on descents. Your hips help control where your thigh goes, how your pelvis stays level, and how well your trunk stays organized over your feet.
That matters when the trail points down.
If the hips fatigue, the knee may have to manage more of the braking and stability demand. This can be especially important for Eagles with a history of knee irritation, prior injuries, or years of rucking, jumping, kneeling, and carrying loads.
Effective exercise options include:
Lateral step-downs
Mini-band lateral walks
Single-leg hip hinges
Single-leg glute bridges
Loaded carries
Hip strength will not erase a knee injury. But stronger hips can help you control your leg position, keep your steps quieter, and maintain better mechanics when fatigue sets in.
Start with: 2-3 sets of 6-10 controlled reps per side, or 20-30 seconds per side for carries or band walks.
Make it harder by: Adding load, increasing time under control, or progressing to more single-leg work.
The goal is not to feel your hips burn for the sake of it. The goal is to keep your pelvis, thigh, knee, and foot working together when the descent gets long.
4. Calf Raises
Your calves are not just for climbing. They help manage foot and ankle control on the way down. Use both straight-knee and bent-knee calf raises. The straight-knee version emphasizes the gastrocnemius. The bent-knee version emphasizes the soleus, which is important for long-duration movement.
Start with: 2-4 sets of 8-15 reps.
Make it harder by: Adding load, increasing reps, or progressing to single-leg variations.
5. Short Downhill Exposure
The body adapts to what it experiences. If your event includes descending, your training should include descending.
Start small. Find a mild hill, trail section, stair route, or controlled decline. Walk, hike, ruck, or jog downhill with good control. The goal is not to smash your legs. The goal is to give your body enough descent stress to adapt without overwhelming it.
If your knees are sensitive, begin with walking descents before running descents, keep the grade mild, and avoid adding pack weight until your body tolerates the downhill volume.
Start with: 5-10 minutes of controlled downhill movement once per week.
Progress by changing one variable at a time: Time, slope, terrain difficulty, speed, or pack weight. Do not increase all of them at once.
The Simple Rule: Don’t Stack the Stress
Most people get in trouble when they add too many stressors at the same time.
A hard downhill session becomes much harder when you also add:
More pack weight
More mileage
Steeper terrain
Faster pace
Technical footing
Poor sleep
Heavy leg training
Heat or dehydration
New shoes, boots, or socks
A useful rule: change one major variable at a time.
If you add pack weight, keep the route familiar.
If you add downhill volume, keep the pace controlled.
If you add technical terrain, reduce speed.
If you are sore from strength work, do not test yourself on a long descent the next day.
This is how you build durability instead of just collecting damage.
A Practical Weekly Starting Point
For Eagles who already train consistently, this is a simple way to begin.
If you are new to training, returning from injury, or currently dealing with knee symptoms, start below this template or work with a coach or clinician.
Once per week: Strength
Step-downs: 2-3 sets of 5-8 per side
Split squats: 2-3 sets of 6-10 per side
Hip strength drill: 2-3 sets of 6-10 per side
Calf raises: 2-4 sets of 8-15
Optional loaded carry: 5-10 minutes easy to moderate
Once per week: Controlled descent
Warm up with easy walking, jogging, or hiking
Complete 5-10 minutes of controlled downhill movement
Keep the pace smooth
Stop before your form falls apart
Track soreness and knee pain response over the next 24-48 hours
After two or three weeks, increase only one variable. Add a little time, a slightly steeper grade, slightly more load, or slightly more technical terrain. Small progressions add up. Big jumps usually cost more than they give back.
Mistakes to Avoid
Mistake 1: Going from flat training to a steep trail day
Flat miles are useful, but they do not fully prepare your legs for long descents. If your goal includes hills, trails, stairs, mountains, or rucks, build descent exposure before the event.
Mistake 2: Crushing leg day before a long ruck
Heavy squats, lunges, step-downs, and eccentric work can create soreness. That is not automatically bad. But timing matters.
Do not crush your legs in the gym and then expect them to handle a long downhill ruck the next day.
Mistake 3: Expecting gear to solve a capacity problem
Shoes, socks, poles, and pack setup matter. Use good gear. Break it in. Adjust your ruck. Take care of your feet.
But gear does not replace physical preparation. The best evidence-supported strategy for tolerating downhill movement is prior exposure to downhill movement itself (Bontemps et al., 2020).
Mistake 4: Ignoring altered gait
If pain changes the way you walk, run, or ruck, pay attention.
Modify early. Reduce load. Slow down. Choose flatter terrain. Cut the session short if needed.
Get evaluated if pain is sharp, worsening, persistent, associated with swelling, numbness, weakness, or causes limping.
Greg Amorelli is a Veteran, human performance coach, exercise scientist, and Doctor of Health Science candidate (DHSc(c)) with service as a Navy SAR swimmer, Oregon Army National Guard Infantry leader, and Army Reserve Civil Affairs Officer. His work blends military experience, strength and conditioning, endurance preparation, movement quality, and exercise neuroscience to help Veterans and active communities build durable, capable bodies for real-world demands.