Packing a Backpack 101
By Nicole Moore
Eagle Expedition Guide and Outdoor Adventures Activity Group Leader
Packing a backpack correctly can feel daunting for beginners and seasoned hikers alike. With a bit of physics, some Tetris-style thinking, and good organization, your pack doesn’t have to feel uncomfortable and heavy. These principles apply equally to a short day hike or a multi-day backpacking adventure. Use the following guide as a step-by-step manual.
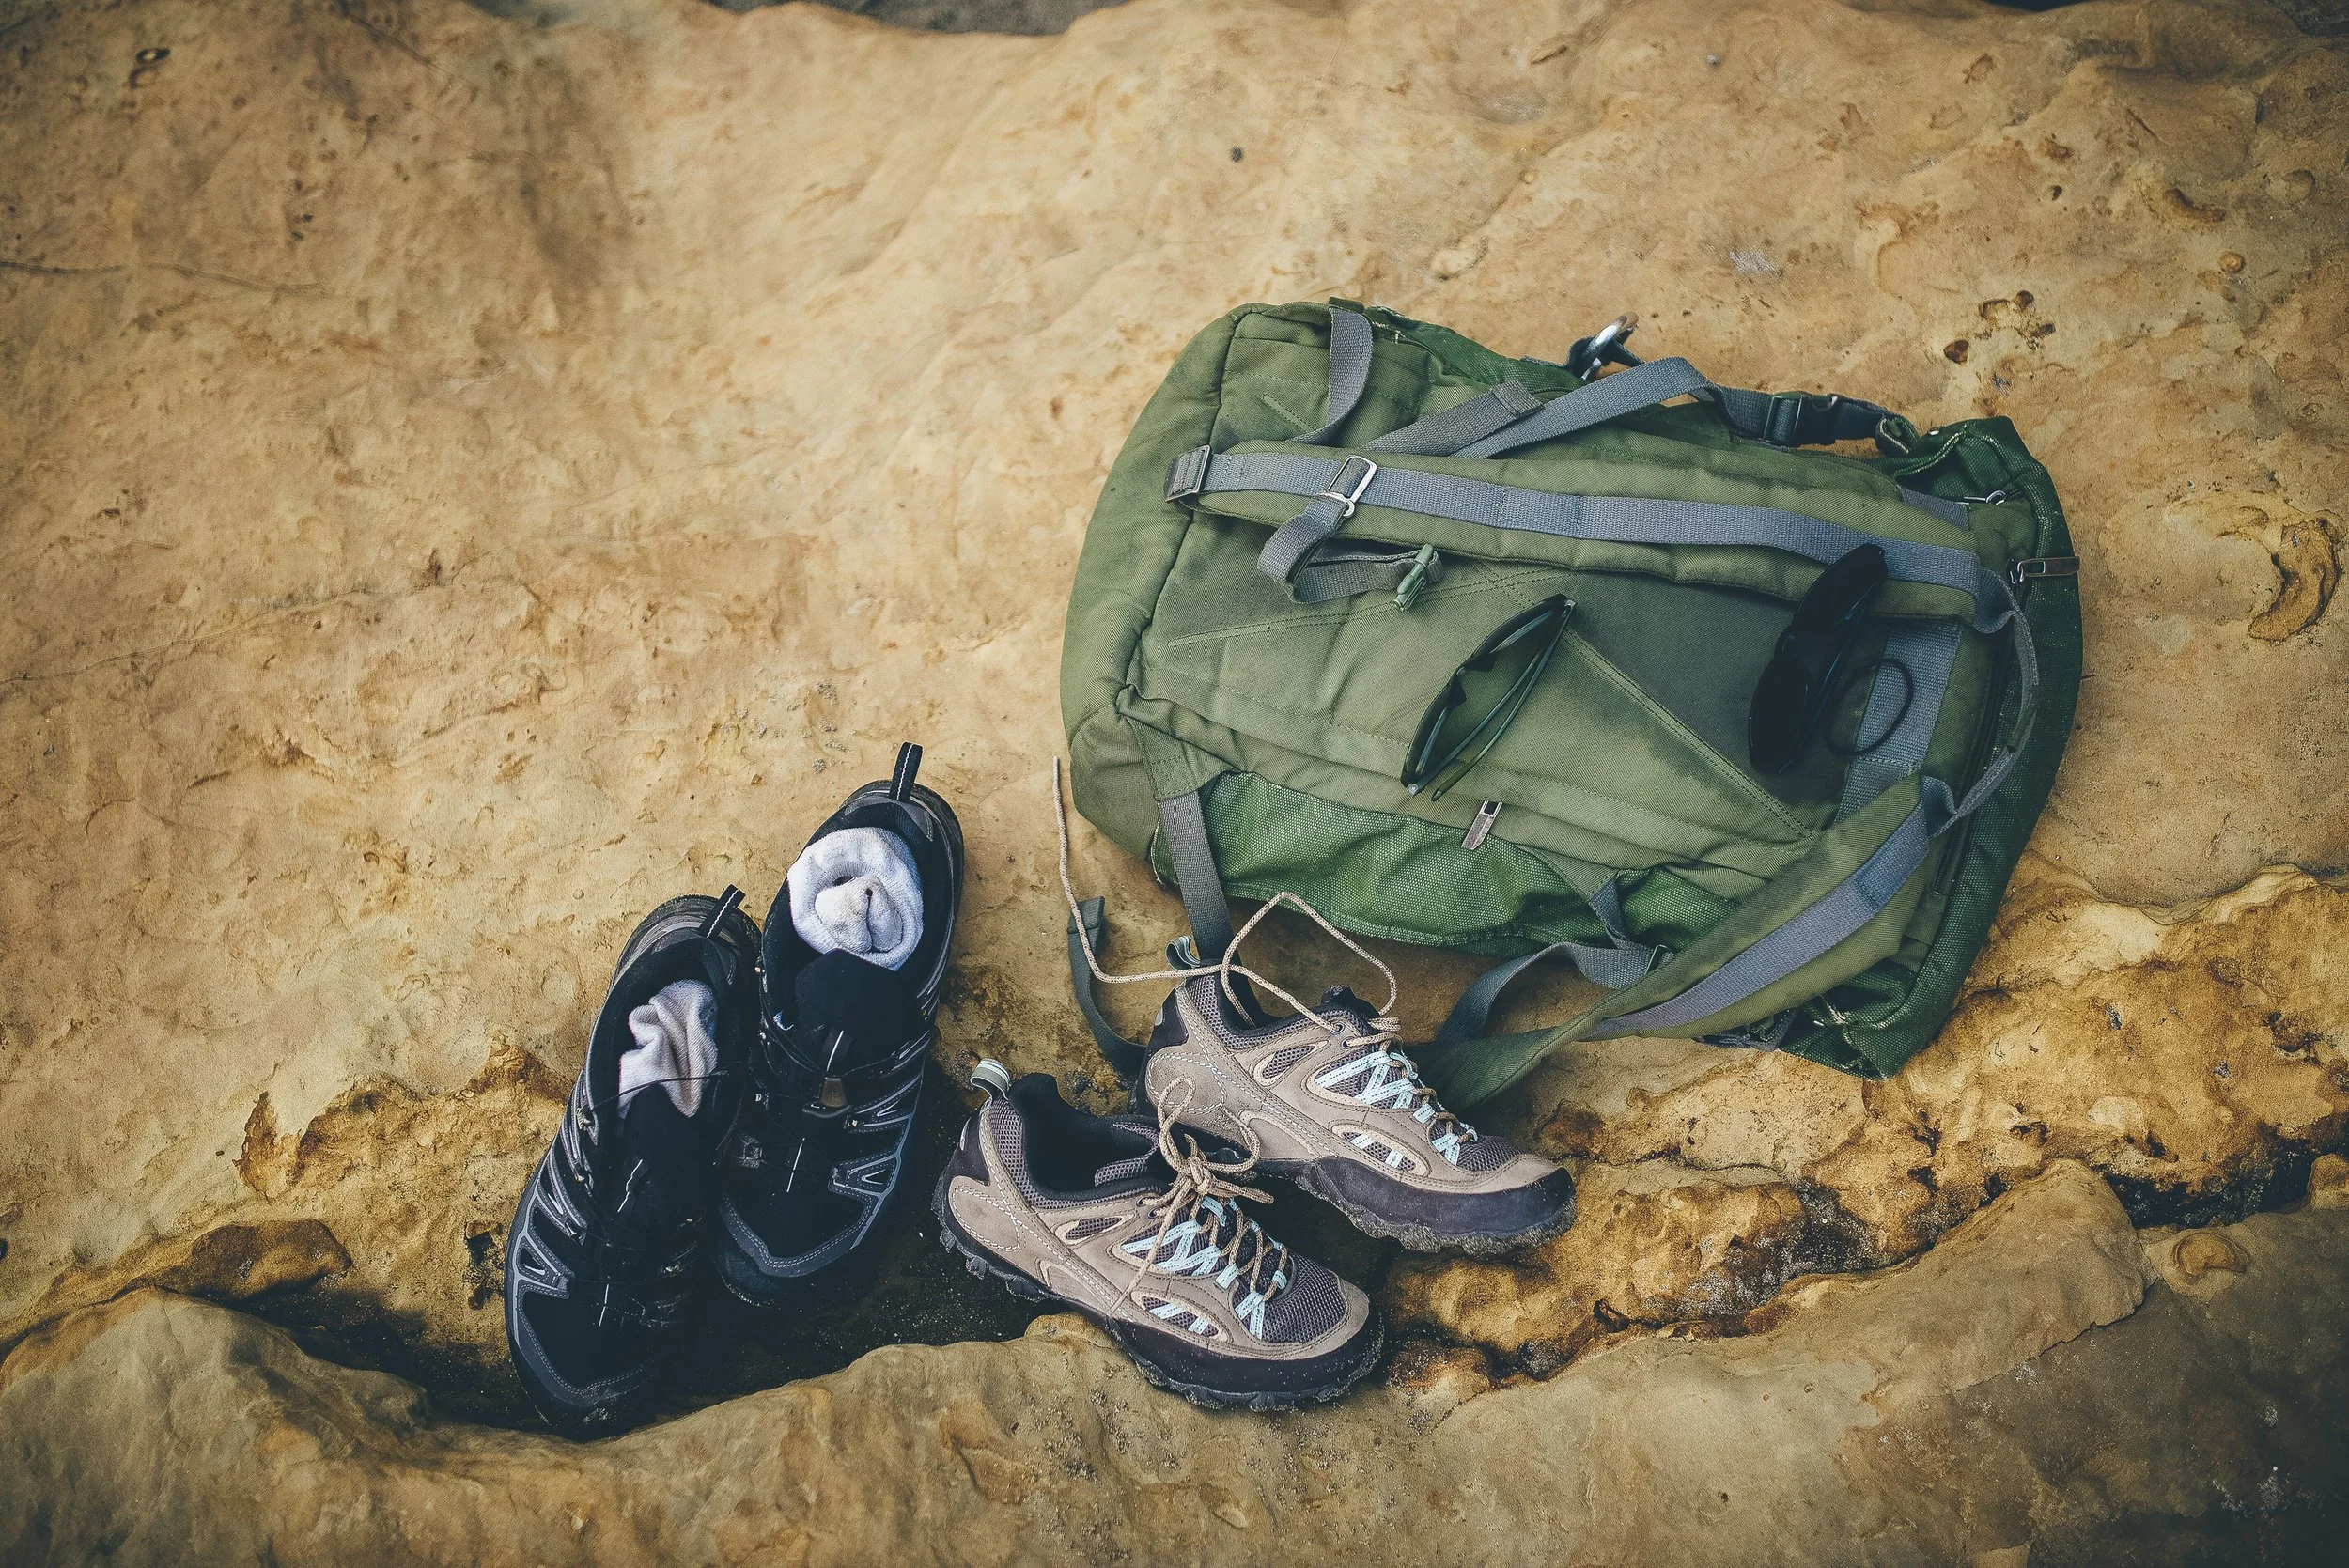
The first step is to lay out all your gear in front of you. This ensures you have everything required, allows you to assess the weight and size of each item, and helps you distinguish between what you’ll need while hiking versus at camp. Organize your gear into categories such as sleep system, clothing, cooking and food, electronics, tools, hygiene, safety, and snacks. Grouping items makes packing more efficient and helps you quickly find what you need later. Consider placing grouped items into labeled zip-top bags or stuff sacks for easy identification.
Next, consider the backpack itself. Packs with multiple pockets and a brain (top lid compartment) provide quick access to small essentials, such as a toileting kit. Some backpacks—particularly ultralight models—have minimal extra storage. In these packs, quick-access items should be stored near the top. Capacity also matters when determining what to pack. Backpacks typically range from 15L to 70L or more. For thru-hiking, a 50–70L pack is common. For a long weekend trip, 40–60L is usually sufficient.
The first item that should go into your pack is a liner, such as a kitchen compactor bag. A dry pack makes for a happy hiker. A thick plastic liner is often more effective than a pack cover. In heavy rain, a cover can trap water at the bottom of the pack, creating a pool around your gear.
Now comes the physics: think about center of gravity. Light but bulky items go into the waterproof liner first. These include your sleeping bag, inflatable pad, pillow, tent body (without poles), and/or hammock. The heaviest items should sit close to your core and centered against your back. If you use a water bladder, place it in its sleeve before the pack is full—trying to wedge it in later is an exercise in futility. Another option is a 1-2L water bottle, typically you need 2 of these, stored in exterior side pockets for easier access and weight distribution.
Next, insert tent poles and stakes vertically along one side of the pack, and place your cooking system on the opposite side to balance the load. Food and other heavy items should be positioned between these items and close to your back. If you use a bear canister, fill it with food and place it in the center of your pack. Avoid positioning it directly against your back, as awkward angles can cause discomfort; padding it with clothing helps. A lighter, less bulky alternative is a bear-resistant food bag. Regardless of your system, all food (except daily snacks and lunch) should go into your bear storage and be packed in the middle section due to its weight. Typically, food and water are the heaviest items you carry. Use clothing in a soft bag to fill in the gaps.
Reserve the top of the pack and the brain for lightweight items needed during the day: snacks, rain gear, extra socks, and similar essentials. If your pack has multiple pockets, designate one for hygiene and toileting supplies, first aid, sunscreen, and bug spray, and another for electronics, cordage, and small tools. Some hikers store camp shoes inside near the top, while others clip them to the outside with a carabiner.
Many packs also have straps beneath the bottom. These are ideal for an accordion-style foam sleeping pad or can be used to secure a tent system—though anything attached externally must be fastened securely. Arriving at camp without your tent because it fell off is less than ideal. As for those of us who enjoy a bit of comfort, the bottom straps are also perfect for luxury items like a camp chair. Not necessary—but greatly appreciated.
Bonus: After phoning a friend who is an expert thru hiker and instructs an annual class of thru hikers on the AT, I have included a similar, but compartmentalized option. You will need three 18 - 20 liter dry bags and one 10 liter dry bag for this version.
Dry bag 1: sleeping bag, sleeping pad, pillow, and liner.
Dry bag 2: clothes.
Dry bag 3: food, jetboil, all things needed for food.
Small dry bag: electronics, tools, 550 cord, first aid kit, meds,
Stack the dry bags horizontally with 1 on the bottom, 2 in the middle, and 3 on top. The small bag goes in the brain/lid. Rain gear on top or in the brain for easy access. Your toilet kit will go in a side pocket. The biggest difference here is the tent is strapped to the outside to keep the inside of the pack cleaner and dry. This method also allows for you to pack everything up while in your tent, by not putting the tent in first. You may want to store the tent in a water resistant bag made for tents to prevent damage due to snagging.
Want some more outdoor adventure tips?
Join the conversation in the Outdoor Adventure group on our Team RWB Member App. Your insights could make all the difference for someone else on the journey.